Tray ceilings and crown molding make a room feel custom, but only when the paint lines are sharp. A wavy line where the ceiling meets the trim, or a gap in the corner, is the first thing people notice when they look up. Here's how these details are done right.
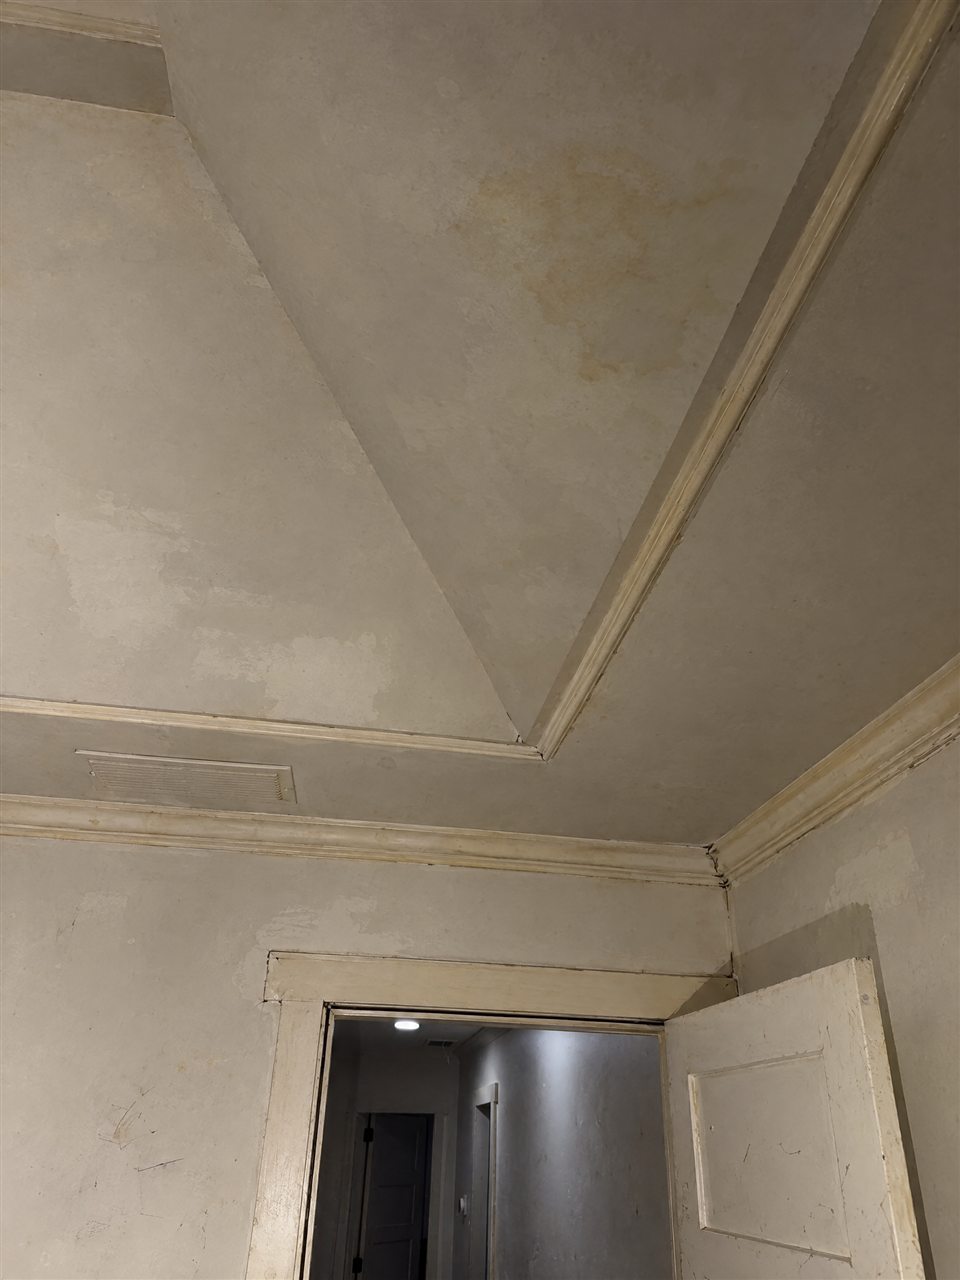
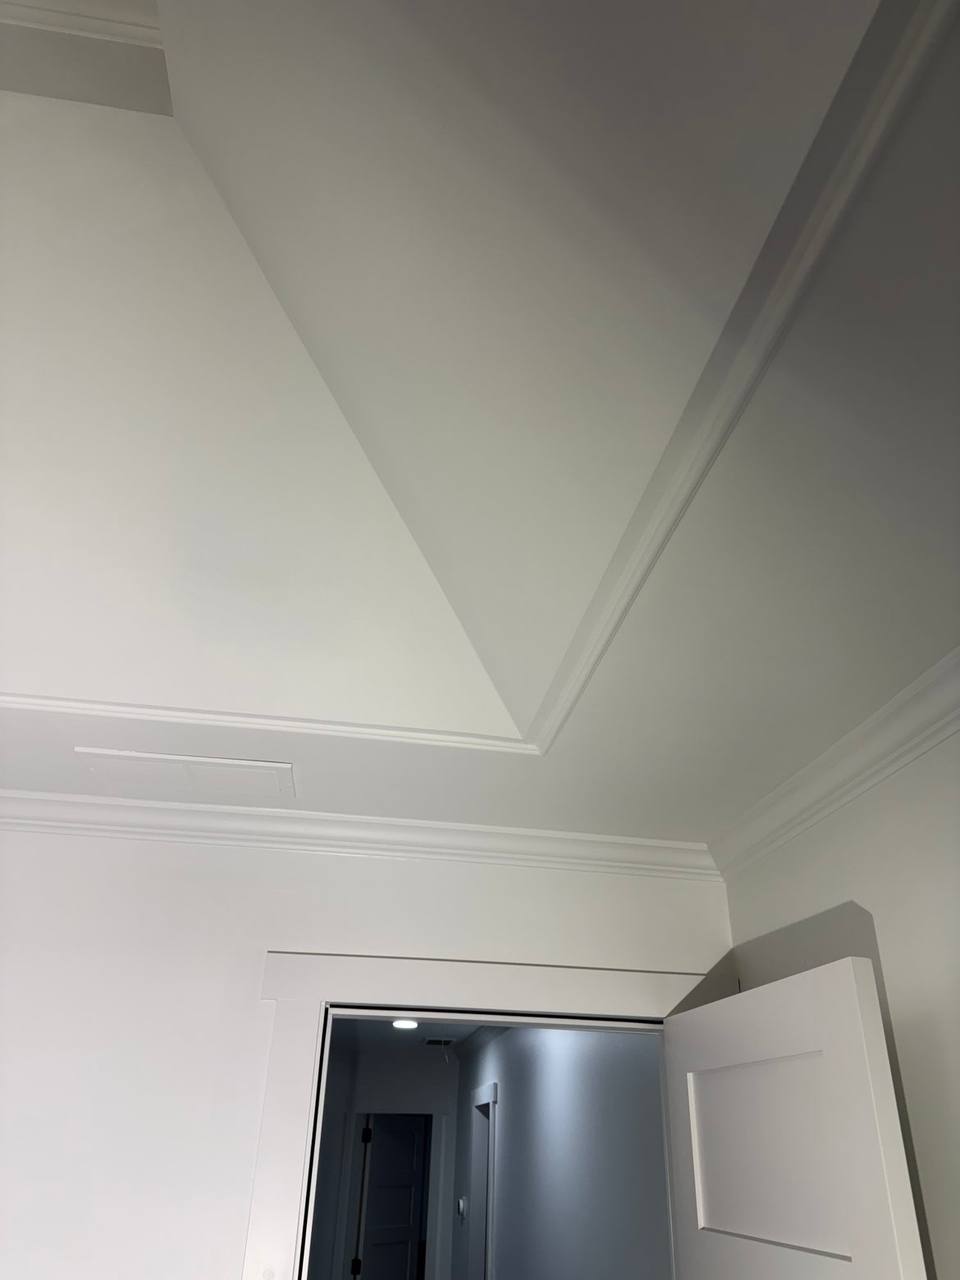 BeforeAfter
1. Caulk first
Crown molding almost always has small gaps where it meets the wall and ceiling, and at the corner joints. Filling them with paintable caulk before painting is what turns "nice trim" into "looks custom". Shadows in open gaps are what make trim look cheap.
2. Work from the top down
We paint the ceiling first, then the crown and trim, and finish with the walls, cutting a straight line at every edge. Working from the top down means no drips land on finished surfaces.
3. Use the right sheen for each surface
| Surface | Usual finish | Why |
|---|---|---|
| Ceiling & tray | Flat | Hides bumps and seams, no glare from lights |
| Walls | Eggshell or satin | Soft look, easy to wipe |
| Crown & trim | Semi-gloss or satin | Durable, and the slight shine makes trim stand out |
4. Color ideas for a tray ceiling
- All white: clean and bright, and lets the shape of the tray do the talking.
- A shade darker in the tray: adds depth and makes the ceiling feel taller.
- The wall color carried up into the tray, with white crown, for a cozy, wrapped look.
5. Watch out for bright LED lights
Modern LED fixtures throw strong light across the ceiling. That light shows every roller mark, patch and uneven spot, so smooth prep and an even final coat matter even more in rooms like this.
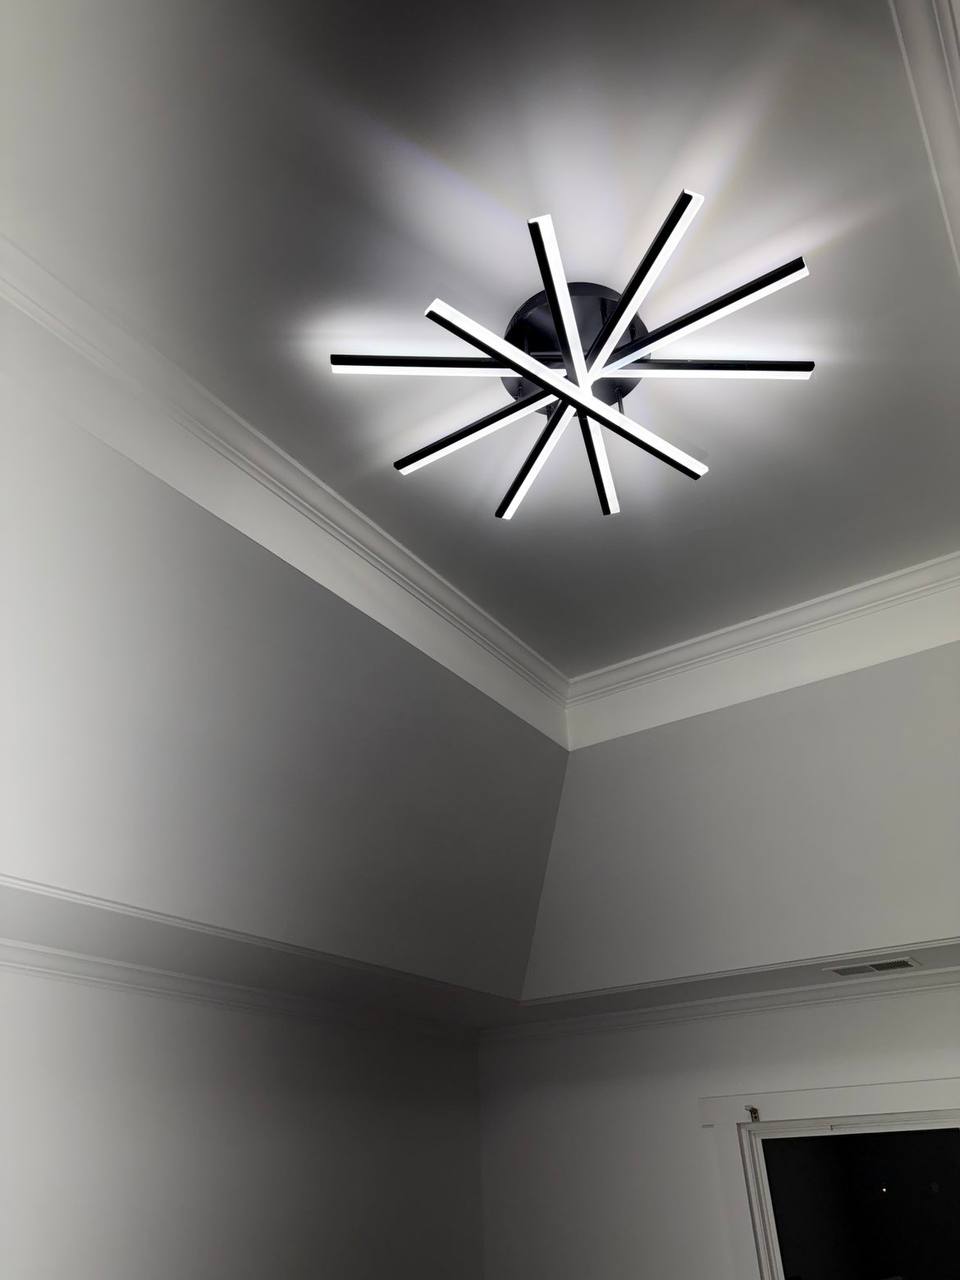
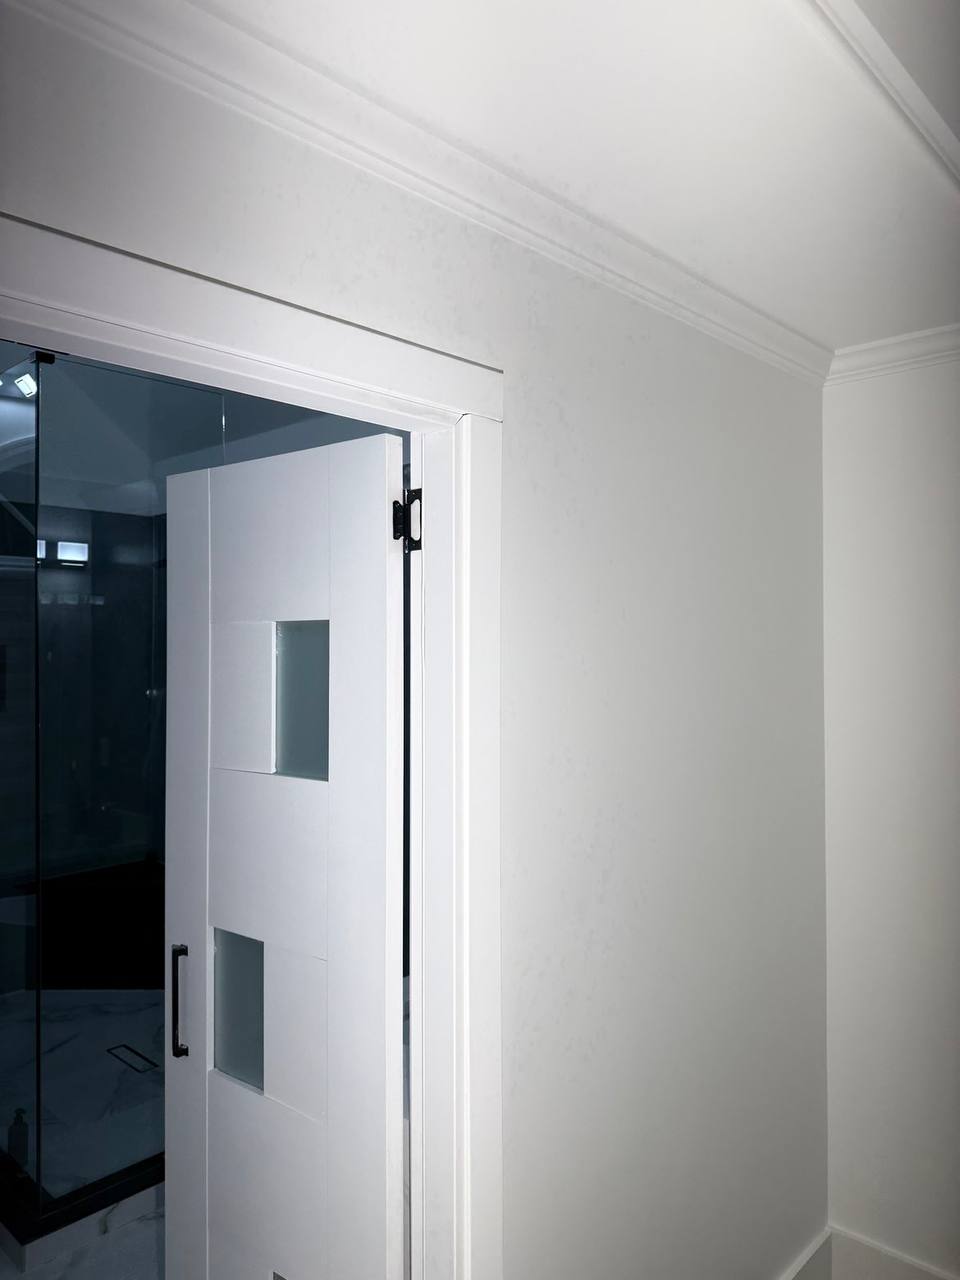
Real Roll Up & Shine jobs: a tray ceiling under a bright LED fixture, and crisp door casing and crown.
Want your ceilings and trim to look this sharp?
Send us a photo of the room on WhatsApp for a free quote.
Text us on WhatsApp